Here are the last two knives I finished:


Here are the last two knives I finished:
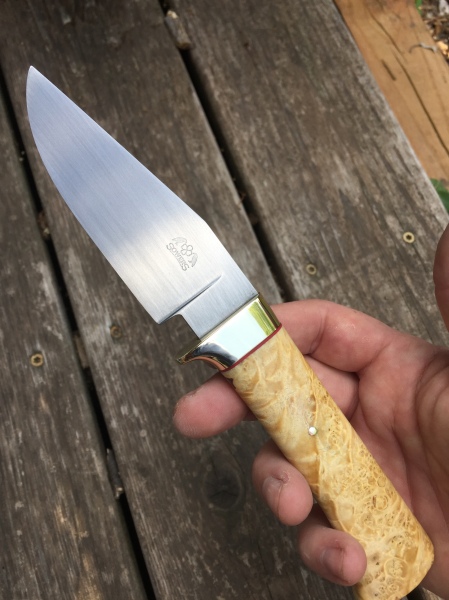
A little hunter I just finished up with some progress pics. It is 1084 steel with a stabilized box elder burl handle and a brass guard.

Just off the anvil.
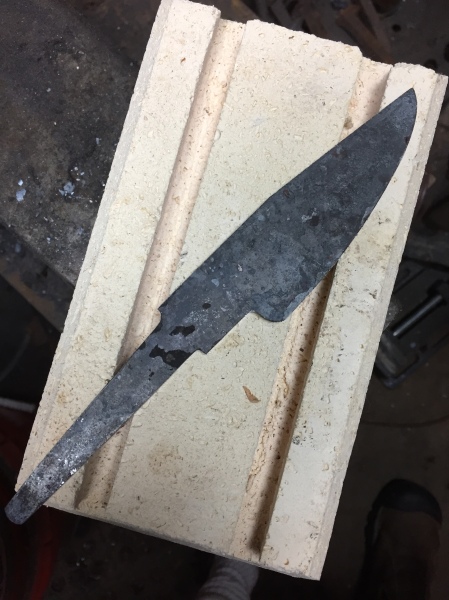
Forging done and profiled.
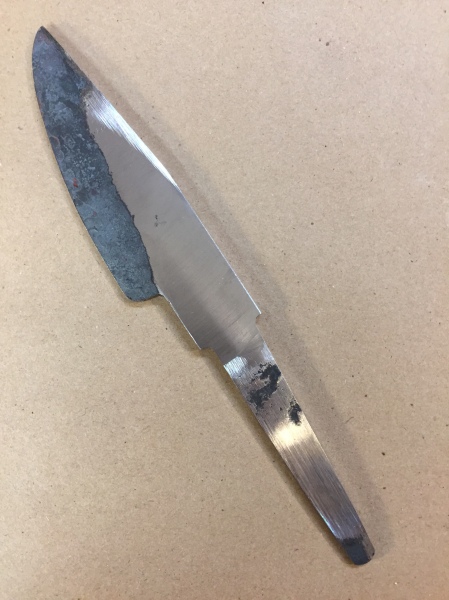
Ricasso flattened in preparation for laying out for grinding and for fitting the guard.
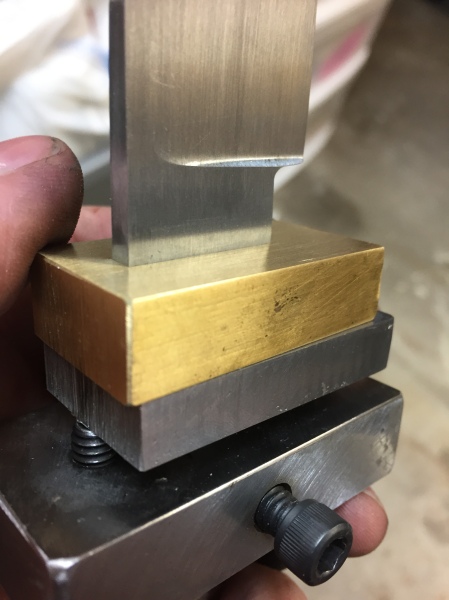
Starting to fit the brass guard with a guard press.
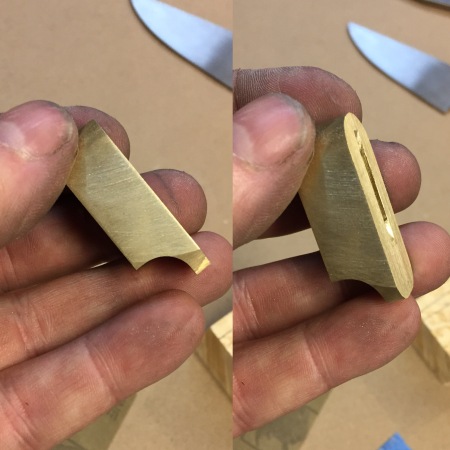
The guard slotted and rough shaped.
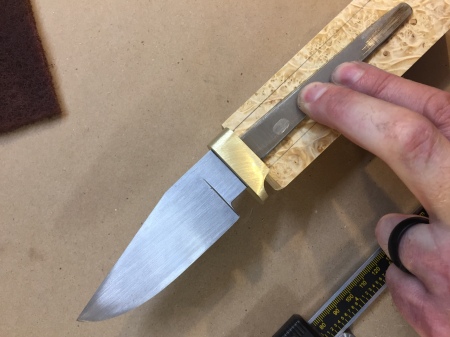
Laying out the blade on the handle material.
Thanks for looking – happy making,
Jim
Saturday August 26th, 2017 (1pm CDT) – four of us are going to do an Instagram hammer-in (#instagramhammerin) for you all to watch. We will each forge a knife of our own design, starting with the same sized stock, forge for two hours, and show a picture of the blade every 10 minutes or so.
There will be four smiths working ABS Mastersmith Lin Rhea, Forged in Fire contestant Robert Burns (Wilderness Ironworks) , blacksmith instructor Matt Jenikns (Cloverdale Forge), and me.
This is not a contest. No prizes will be awarded – it’s just for fun and hopefully the pictures will be an educational resource for new bladesmiths.
We hope you follow along, ask questions, and enjoy these great smiths (and me) showing us their forging step by step. Follow along by watching the hashtag #instagramhammerin
I posted a video on YouTube showing how I forge one of my large bolt bottle openers.

Thanks for stopping by,
Jim
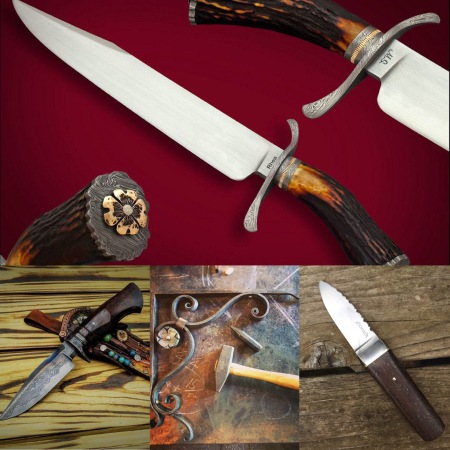
I met Joe Keeslar this year at the ICCE knife show this year and I wanted to make a dagger in his style. Below are some photos of the process.
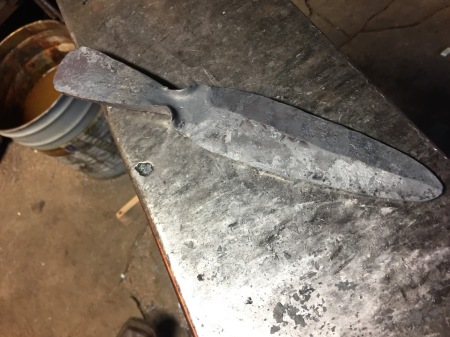
Here it the initial forging. I started with 1.5″ x 1/4″ 1084 steel:
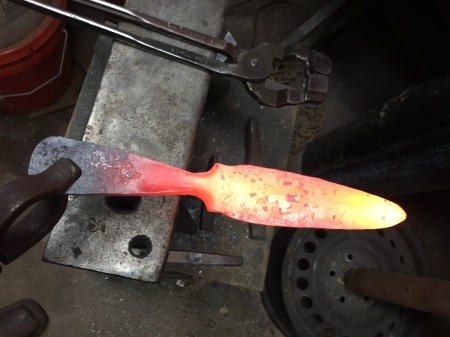
Here is the forging complete:
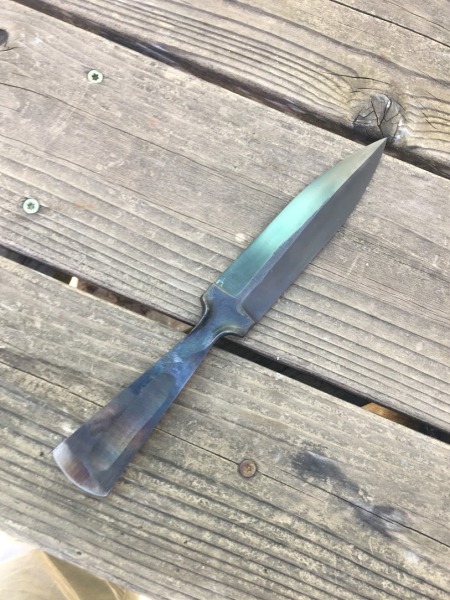
Profiled and finish ground:
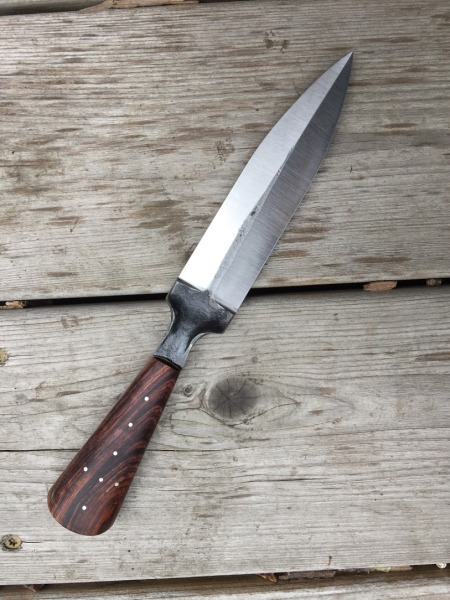
Then a mystery wood handle (rosewood or ironwood, not sure – it was a gift):
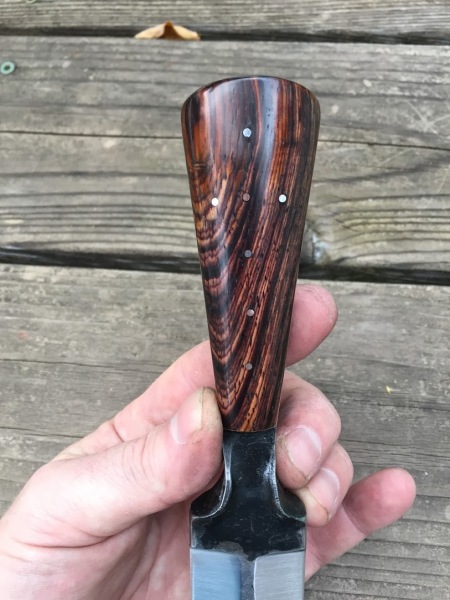
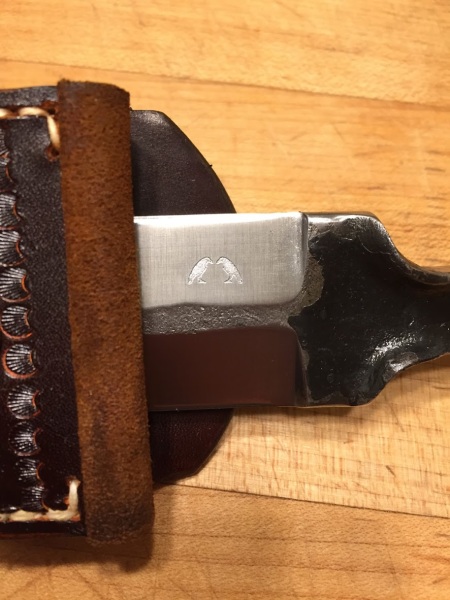
A handle detail showing the sterling silver and copper pins:
I etched my logo:
I also made the sheath:
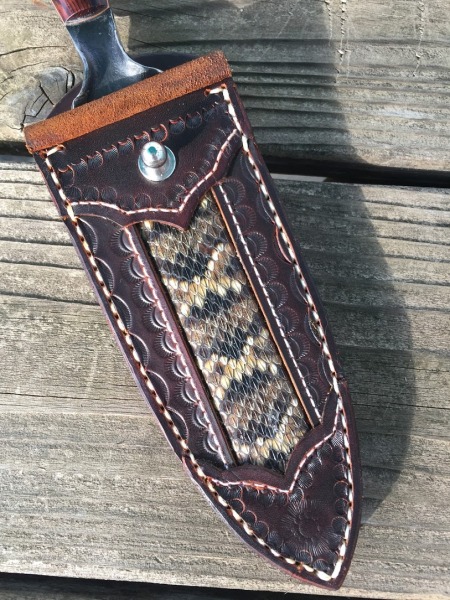
And here is the entire package:
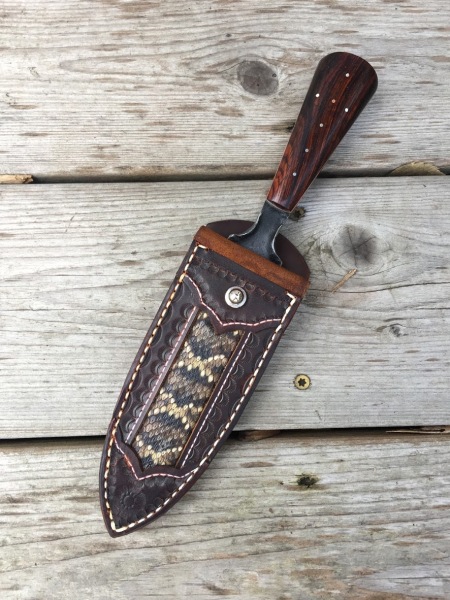
This was a really fun build – it pushed my abilities in both blade and sheath and I am happy with how it turned out.
Thanks for looking – keep making,
Jim
No tutorial today, but process pics.
I am working on a drop point hunting knife and was not sure from my sketches if it was going to feel how I wanted. I needed to hold it.
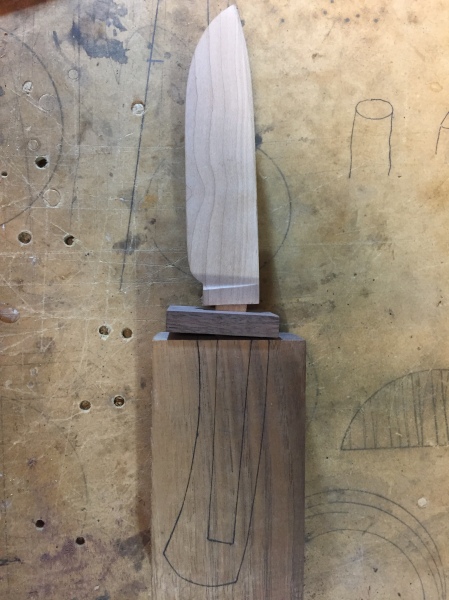
I ground the blade just as if it was steel – but it is cherry. I also roughed in the guard and handle in walnut.
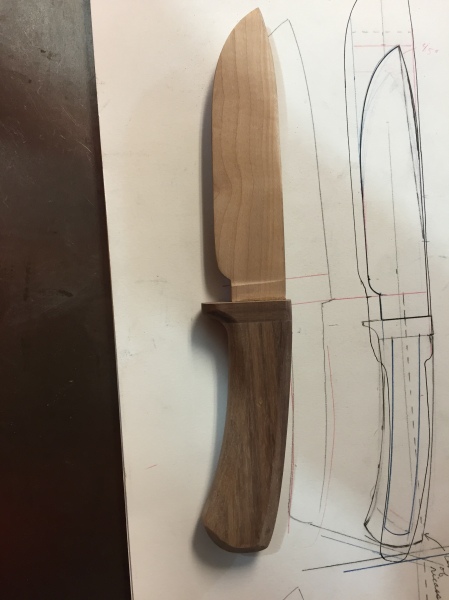
Here it is with the ‘blade’ glued in and the handle shaped.
It might seem silly to rough it out all in wood – but holding it in my hand told me what I needed to know. If all goes well, I will post pics of the real knife soon. This one is a drag to keep sharp…
Happy Making,
Jim
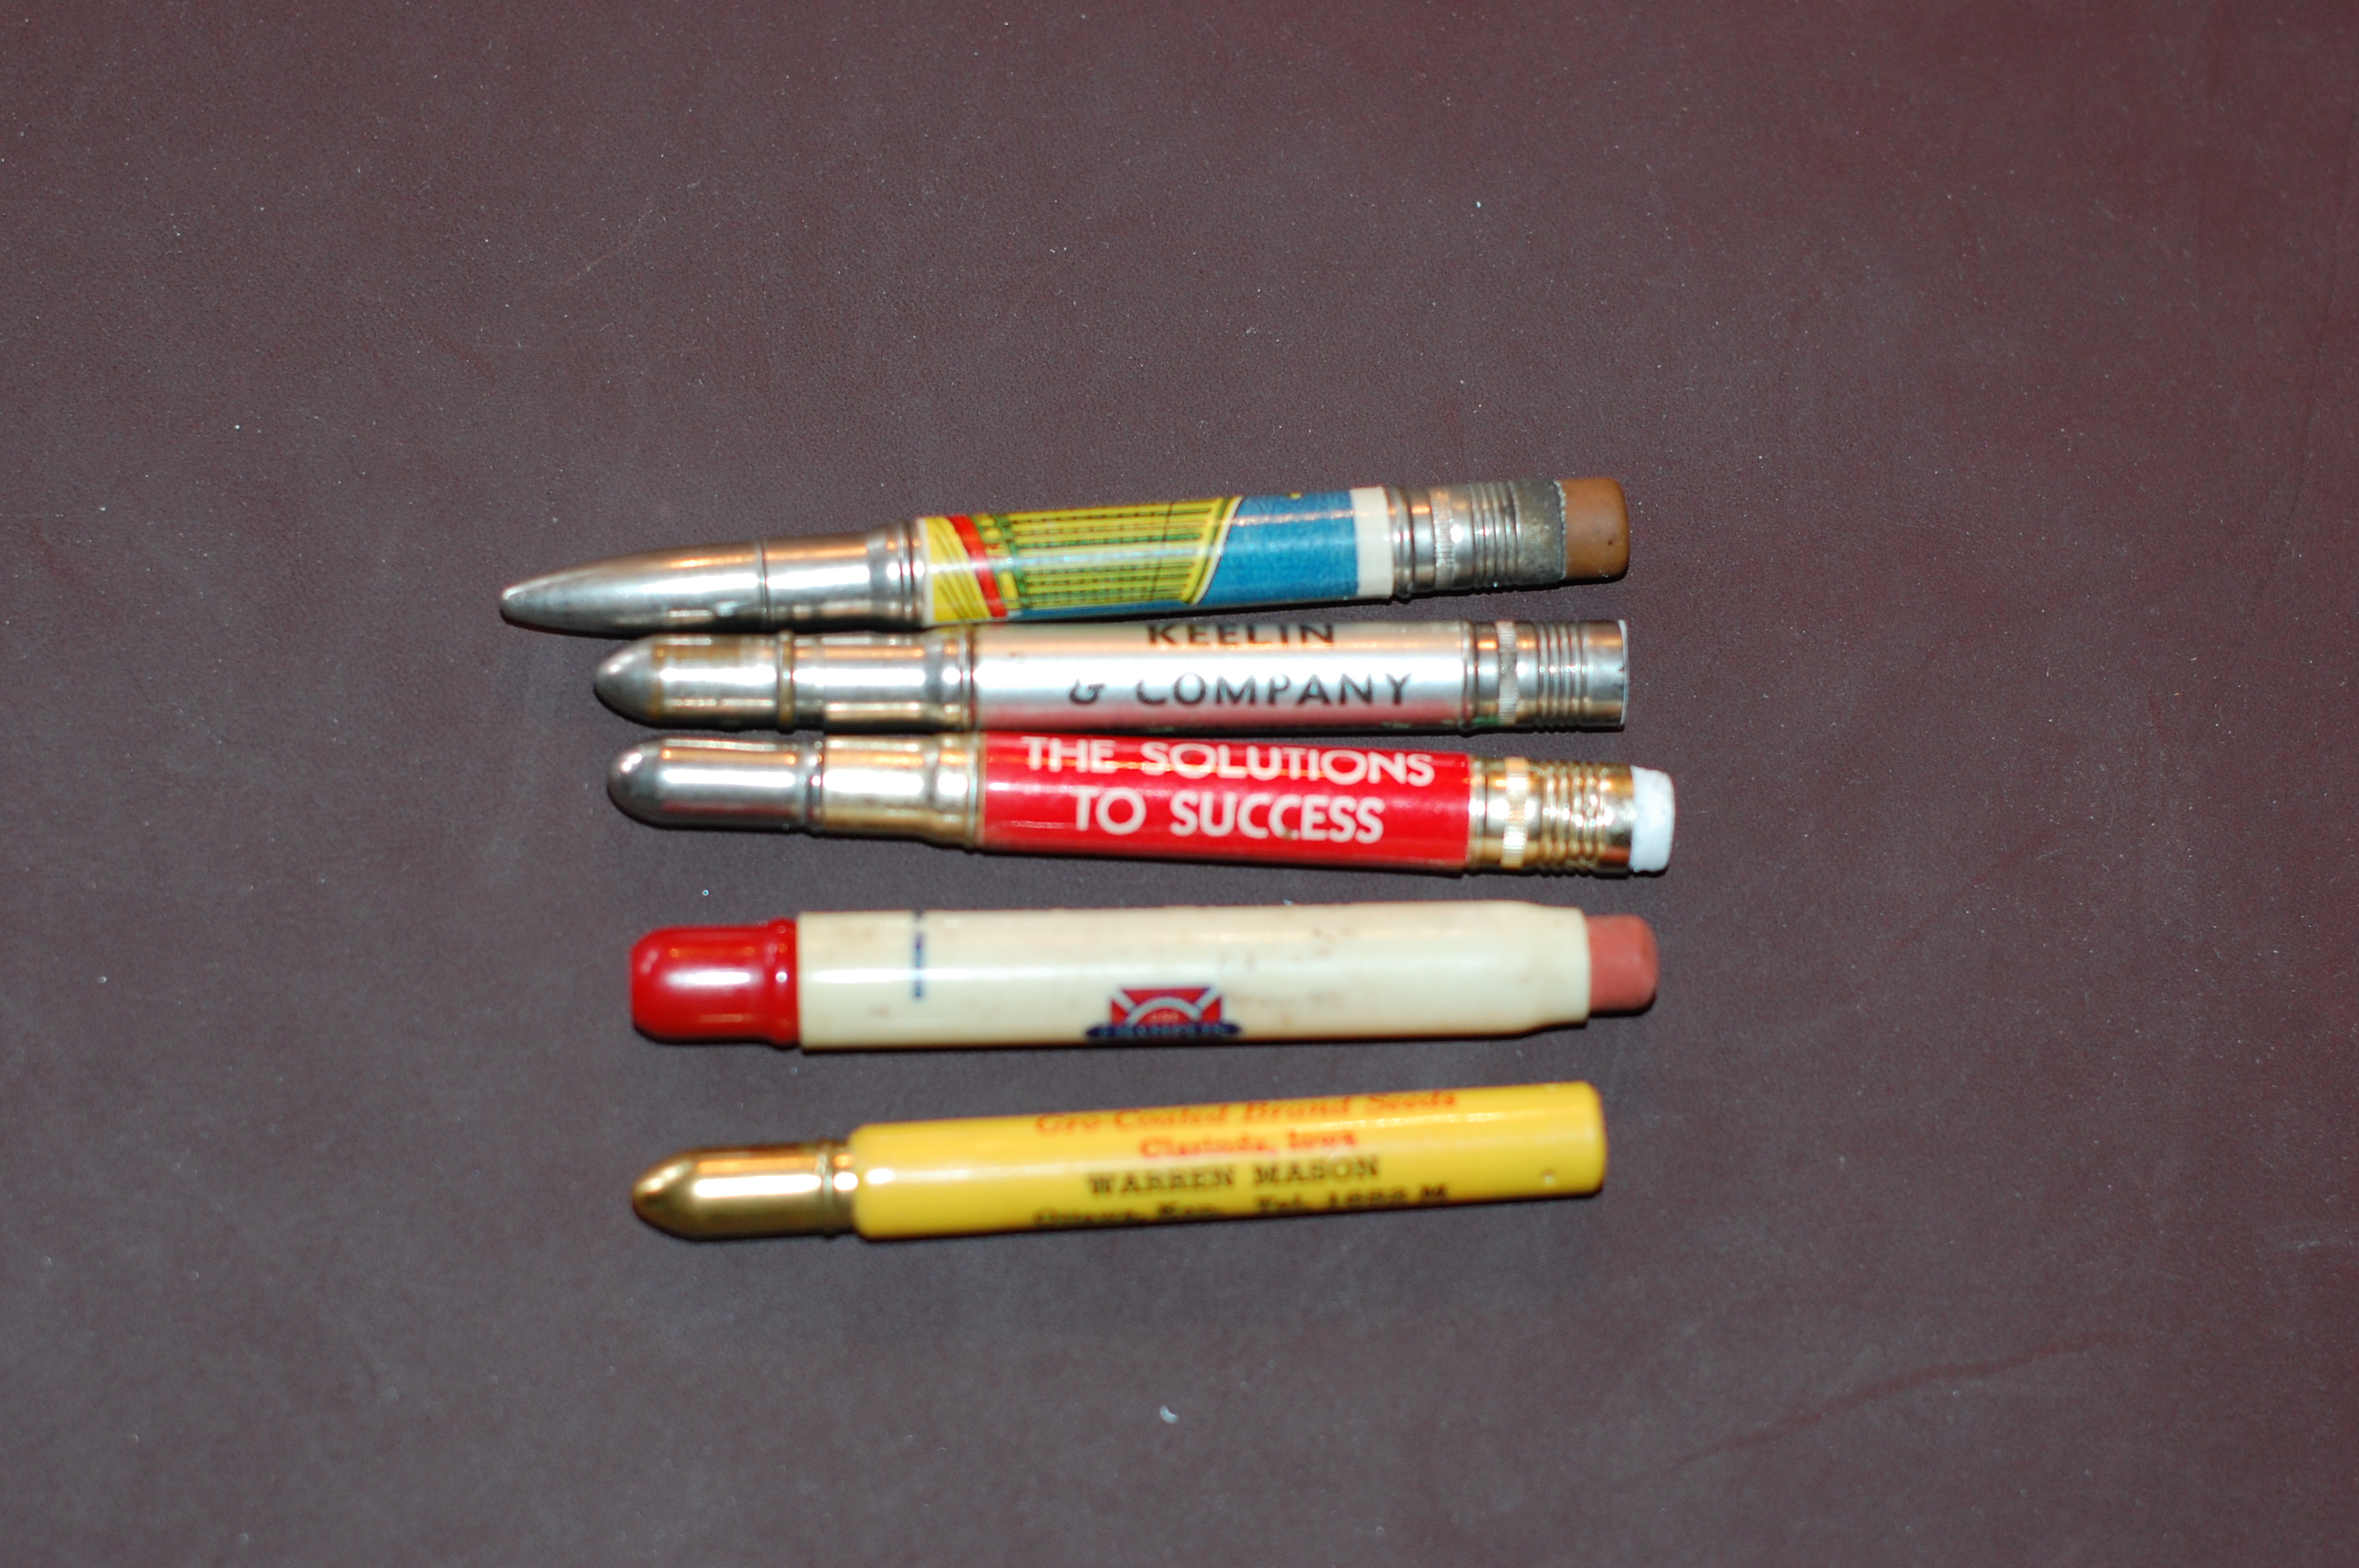
The ones that say ‘Dot’s Diner 123 main,’ etc… If I see them in a box at an auction or rummage sale, they are coming home with me. My problem with them is that the erasers are rock hard and sometimes the pencil tube is cracked or broken somehow. Usually, they are simply constructed – a tube with an eraser in one end and a steel cap that holds a pencil to put in the other. The pointy cap bit is difficult to make, so we won’t do that.
If you don’t want to go through all the hassle of making you from scratch, you can fix up an old one that is in decent shape. On the vintage pencils I have, the erasers are mostly the same size as newer children’s pencil erasers.
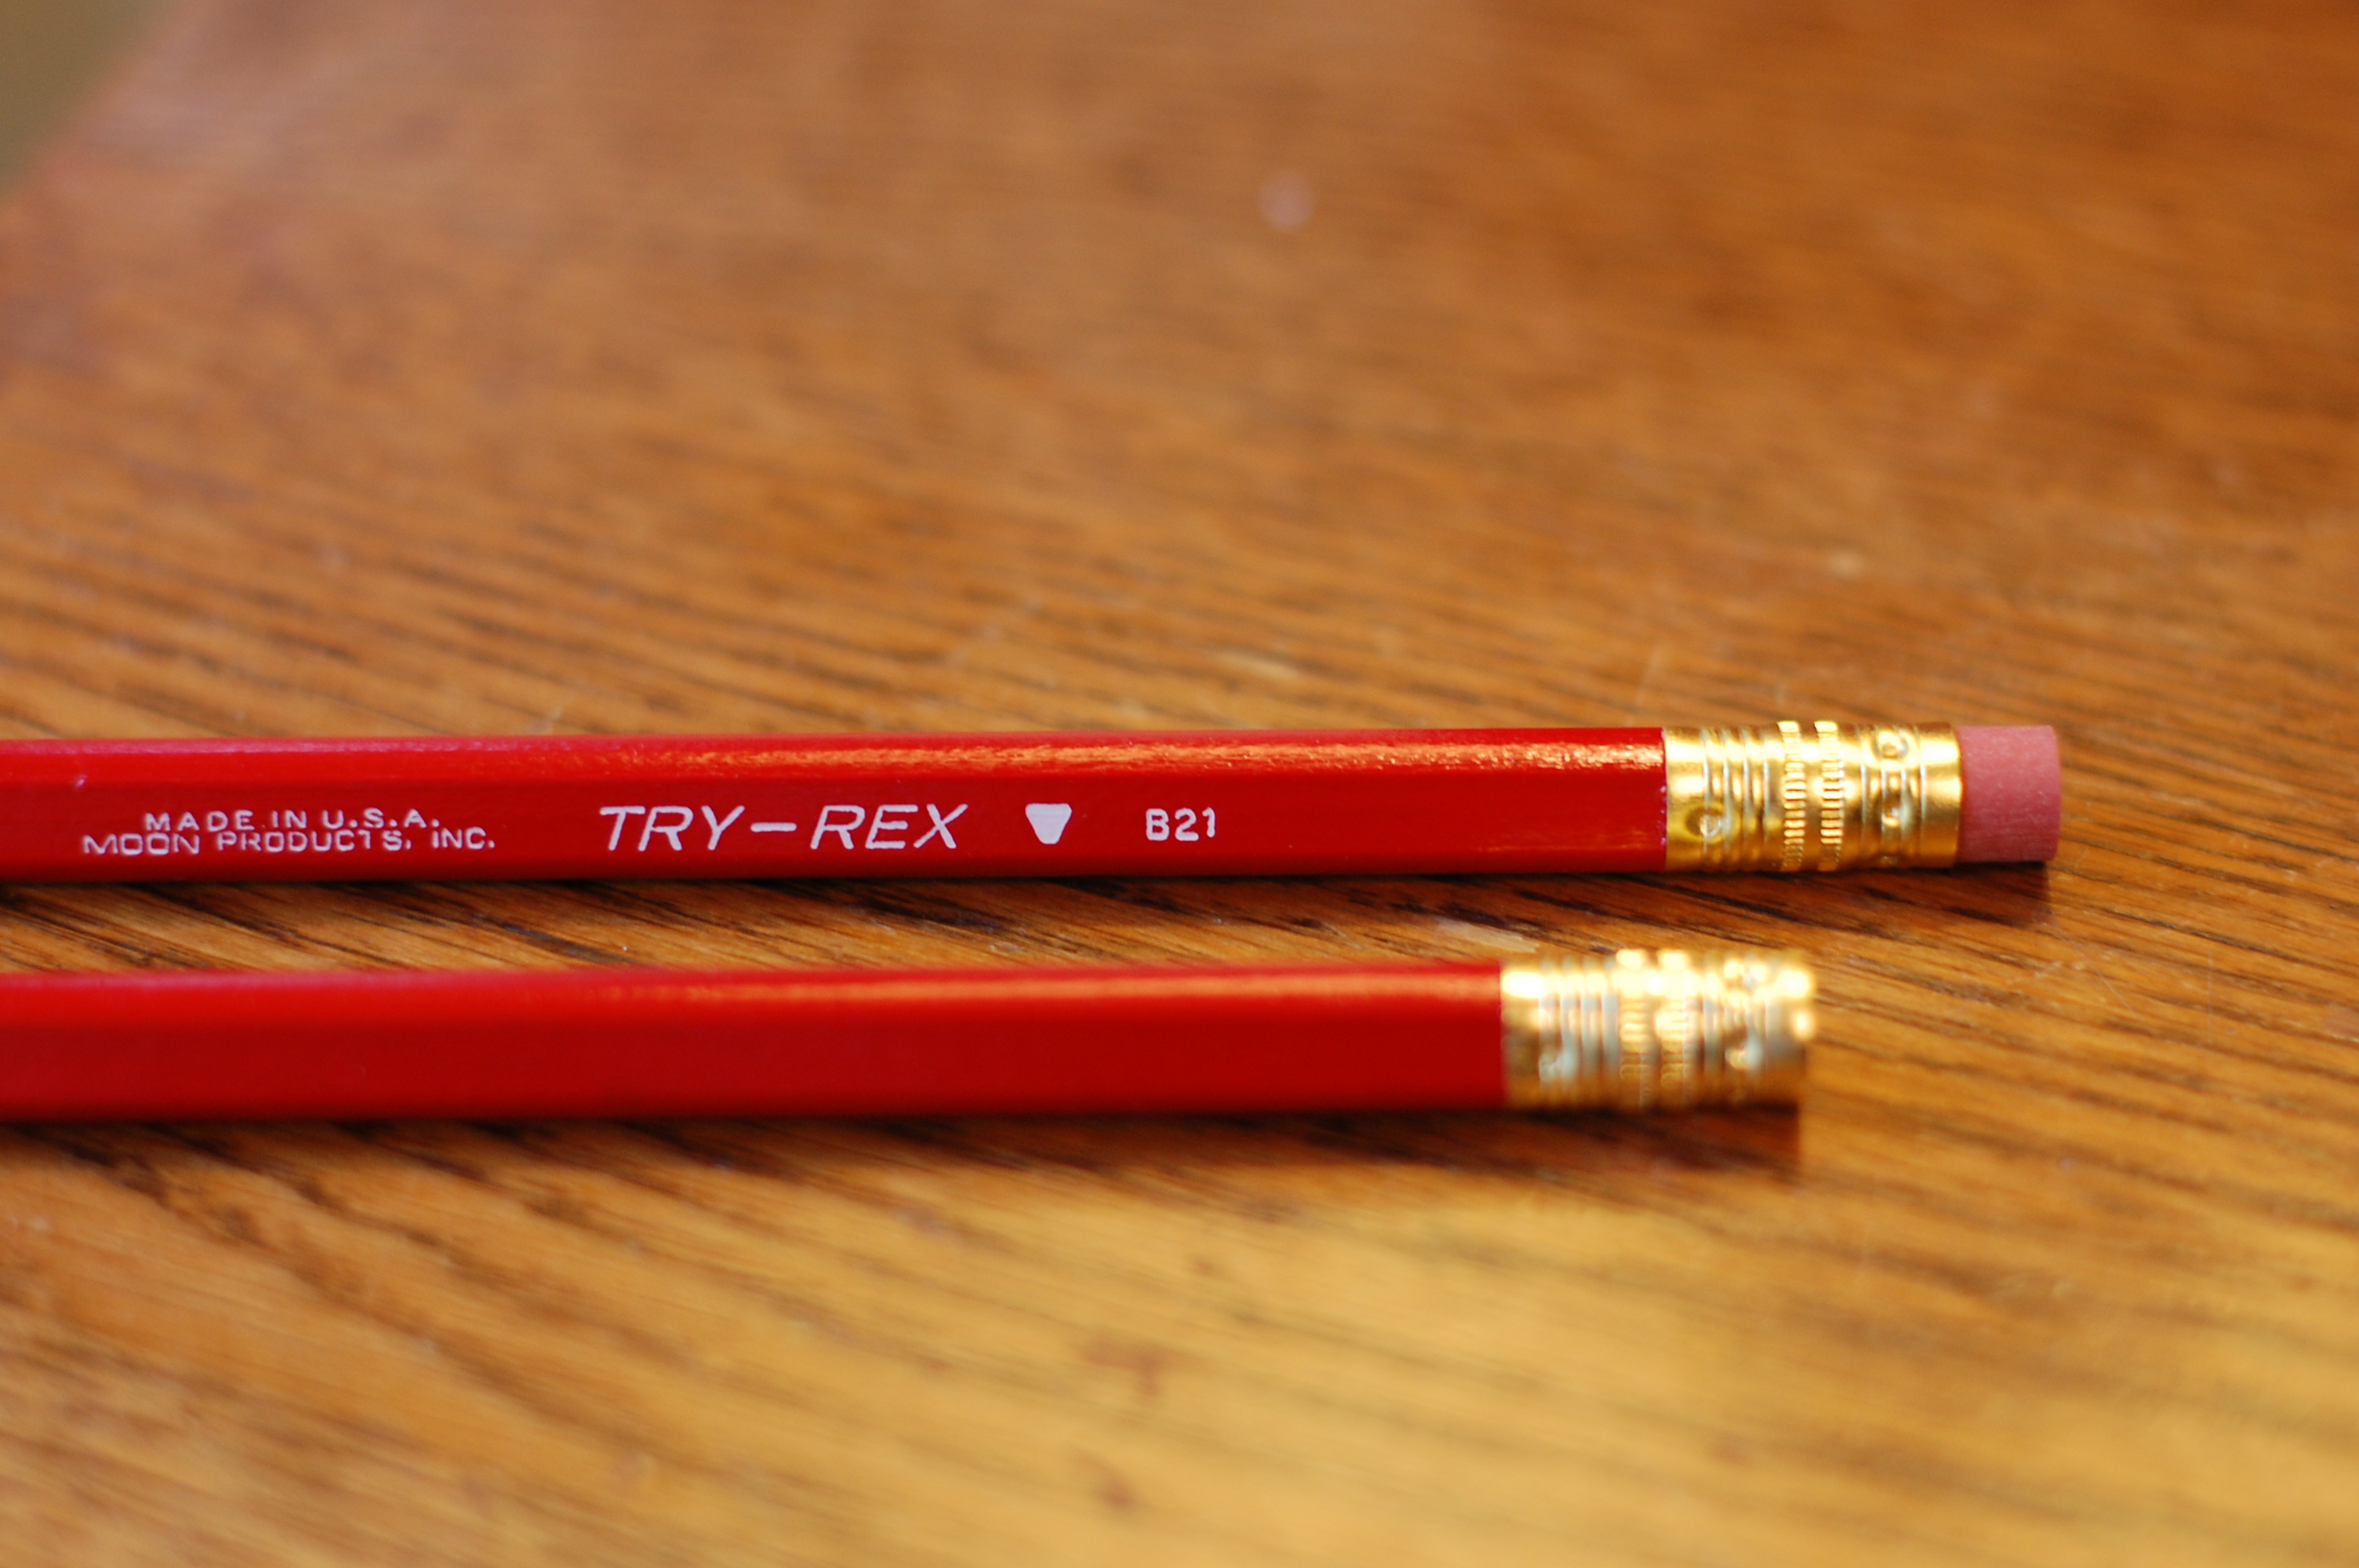
I found a bin full of these Musgrave TRY-REX pencils at a local office supply and I just yank the eraser from the Musgrave and replace the rock hard one in my pocket pencil. I also shine up the caps on my pocket pencils with SimiChrome polish on a soft rag – only a tiny bit of polish is needed. It is foul smelling stuff but does a great job.
You will need an existing vintage pencil for this. Find the nastiest cheap one that still has a good chrome cap on it. That is the only part we need. Take the chrome bullet end off and head to the hardware store. Looking at my local hardware store yielded this 3/8″ x .028″ stainless steel tubing.
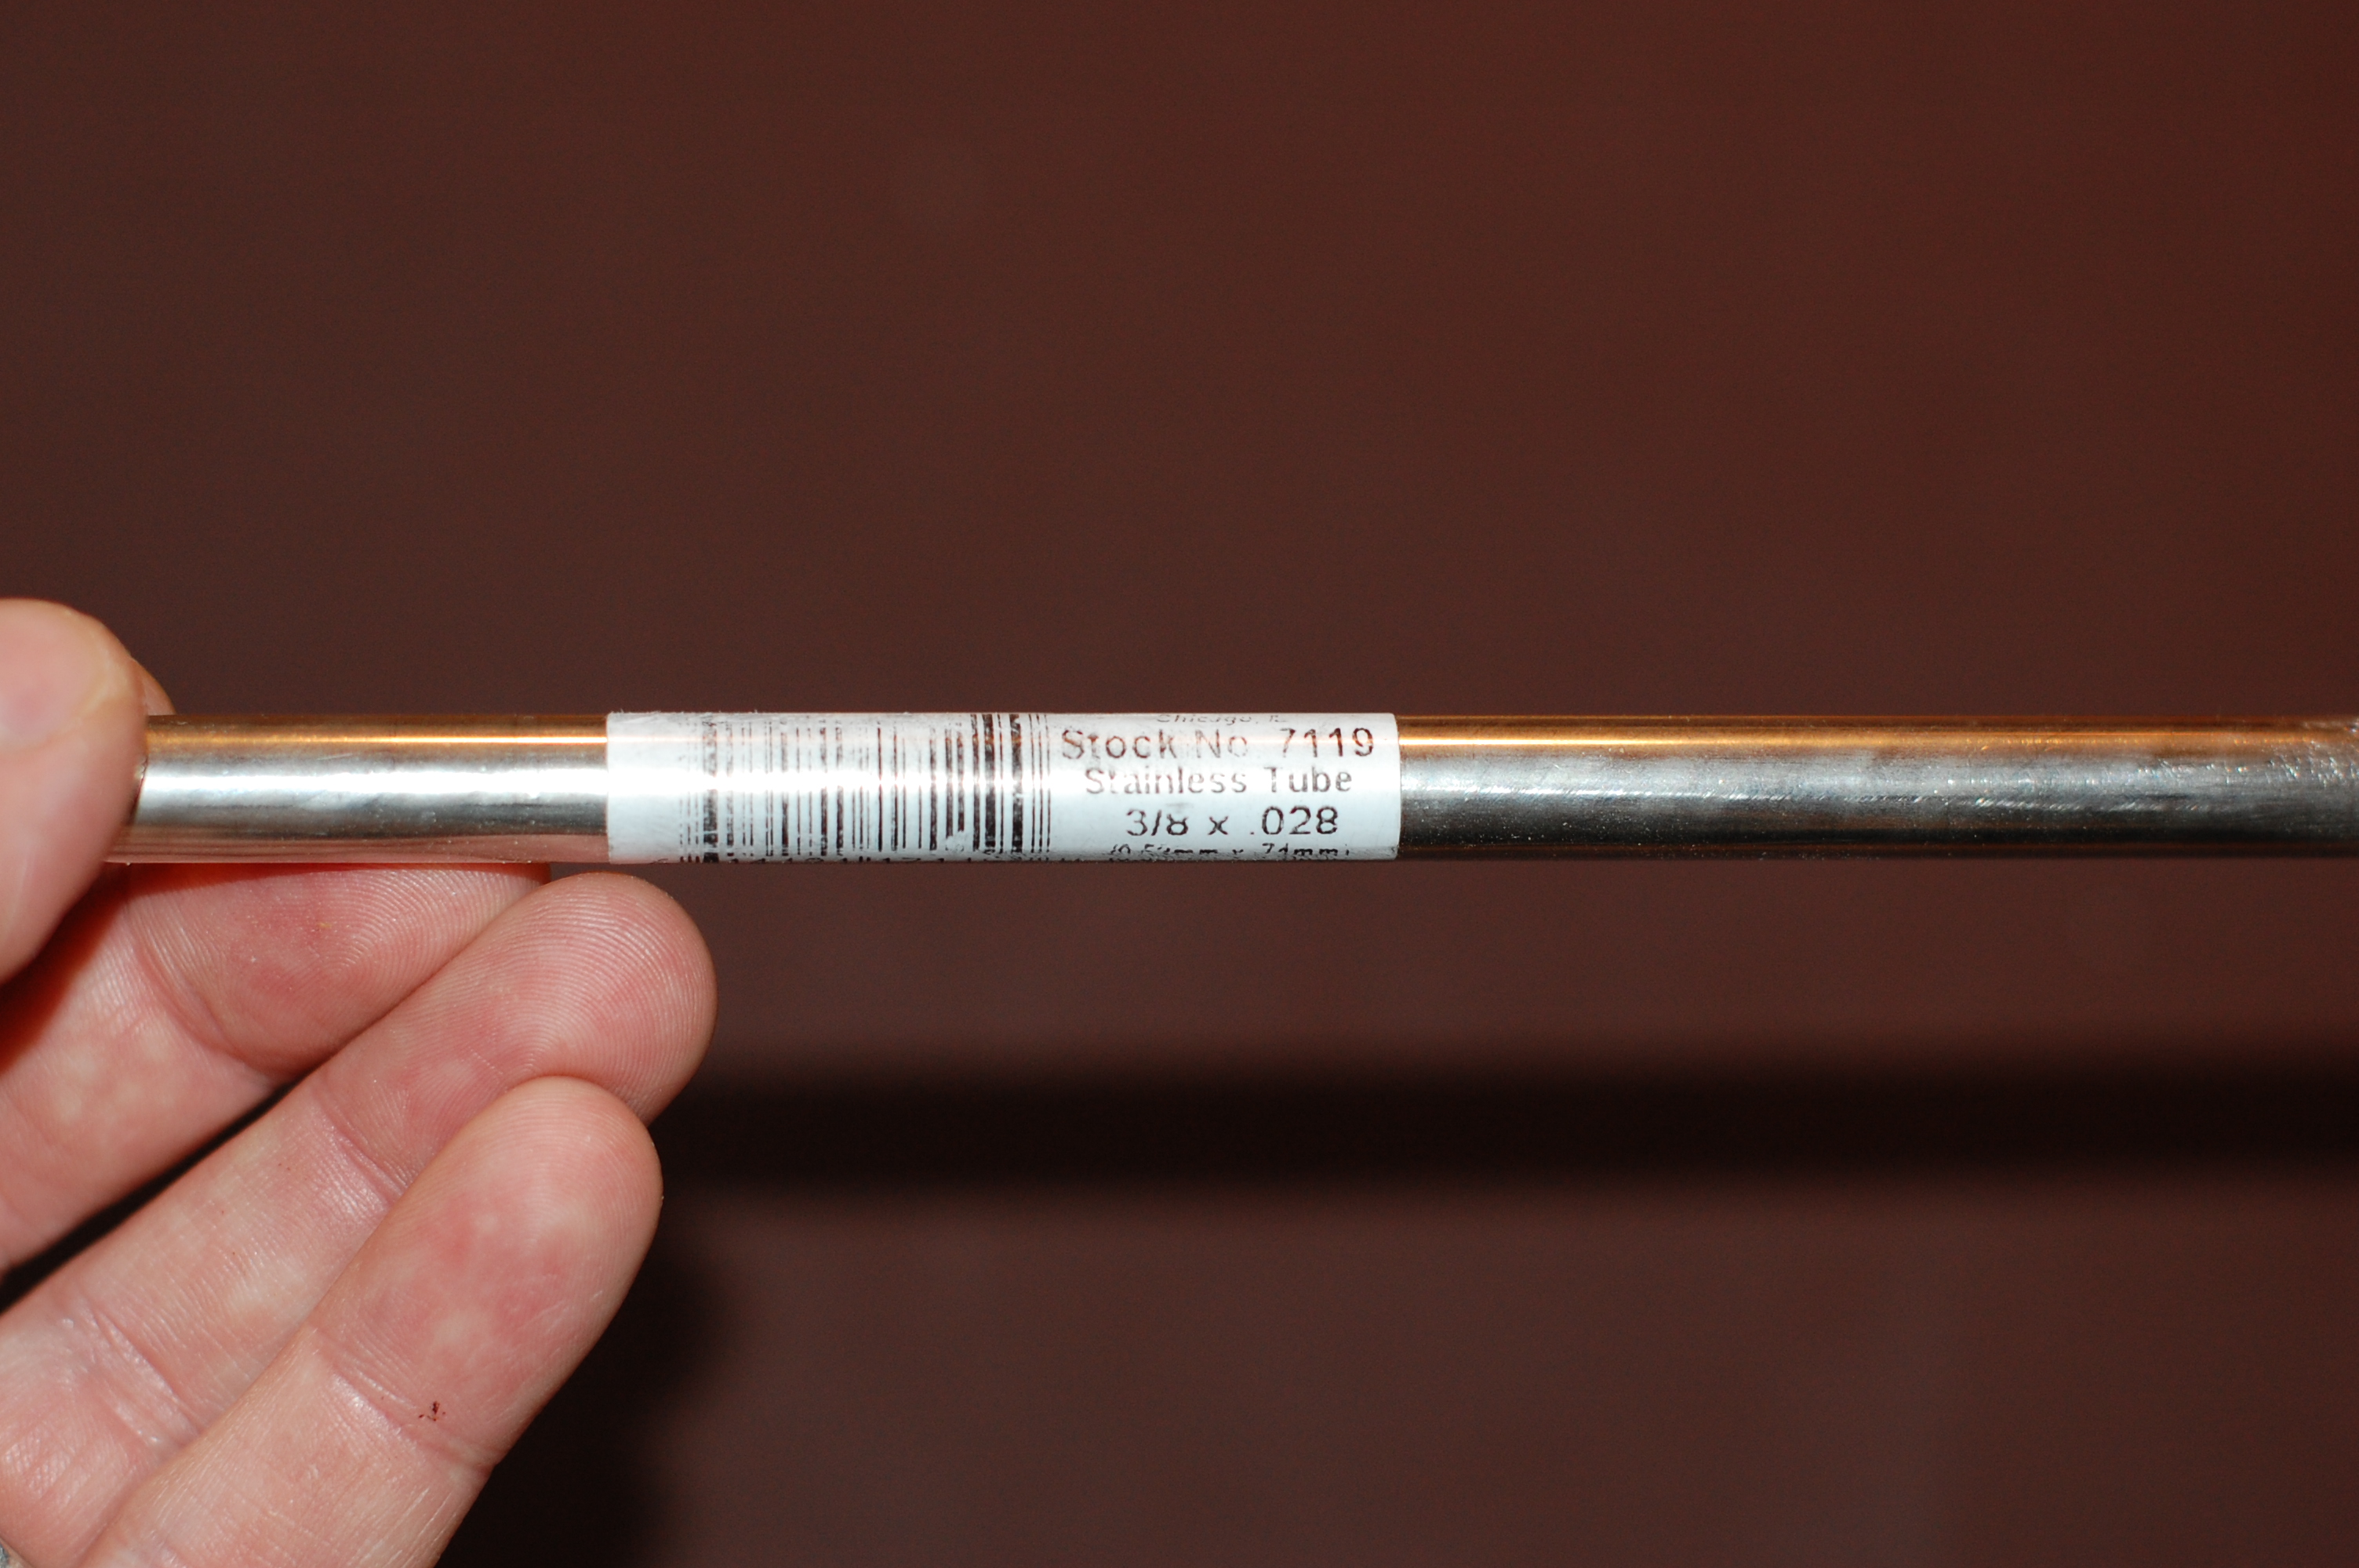
Use the chrome end off of your old pencil and try to gently press fit it into tubing at the store until you find a piece that is just a hair too tight. If it is too loose, it will not work.
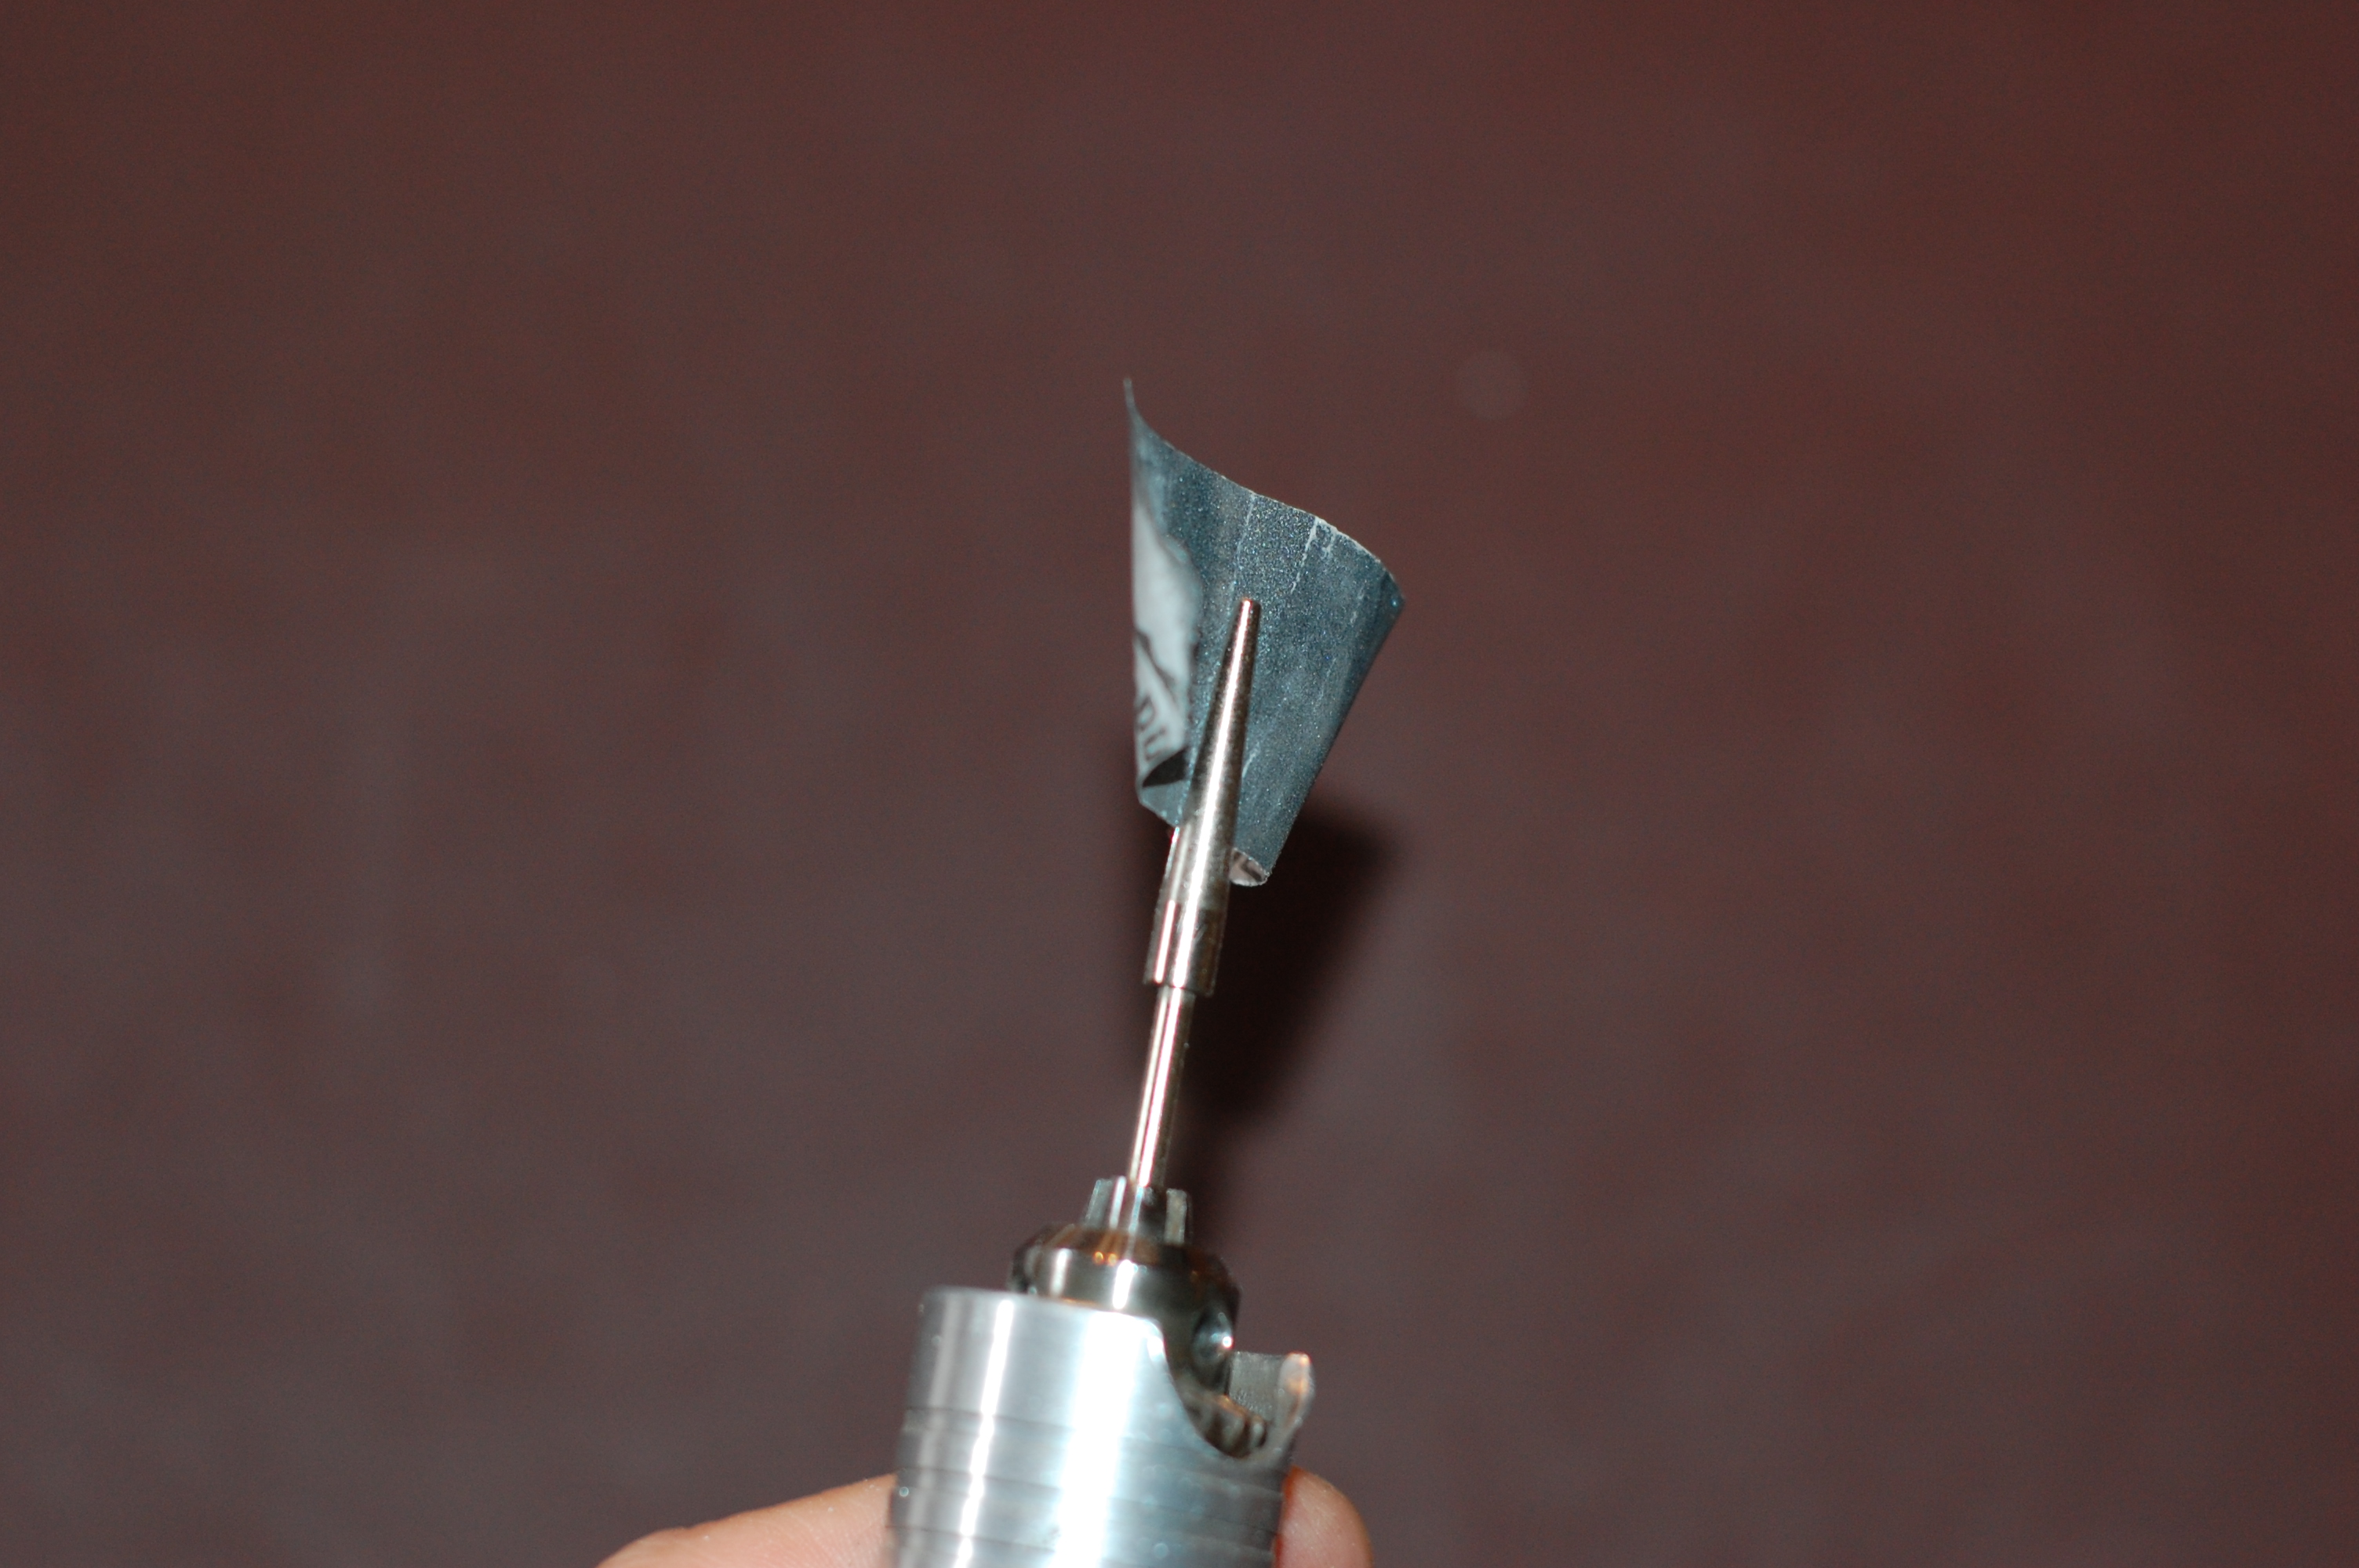
I use this slotted mandrel from Rio Grande that lets me put my own sandpaper bits in my Dremel or flex-shaft. I needed to remove quite a bit so I started with 80 grit, and I worked my way down to 400 grit, constantly testing with the cap from the old pencil, until it just goes in easy enough. Sand a little, test fit, sand a little more, test fit… For the eraser on this one, I found some Retro 51 Big Shot eraser replacements that fit with just a little polishing inside the stainless tube. The Musgrave ones would work, but I liked the look of the white eraser with the stainless tubing. Cut the last few inches off of your Palomino Blackwing pencil (or steal a golf pencil from the library like I did), put it in the chrome cap, and there you have a life-timer of a pocket pencil!
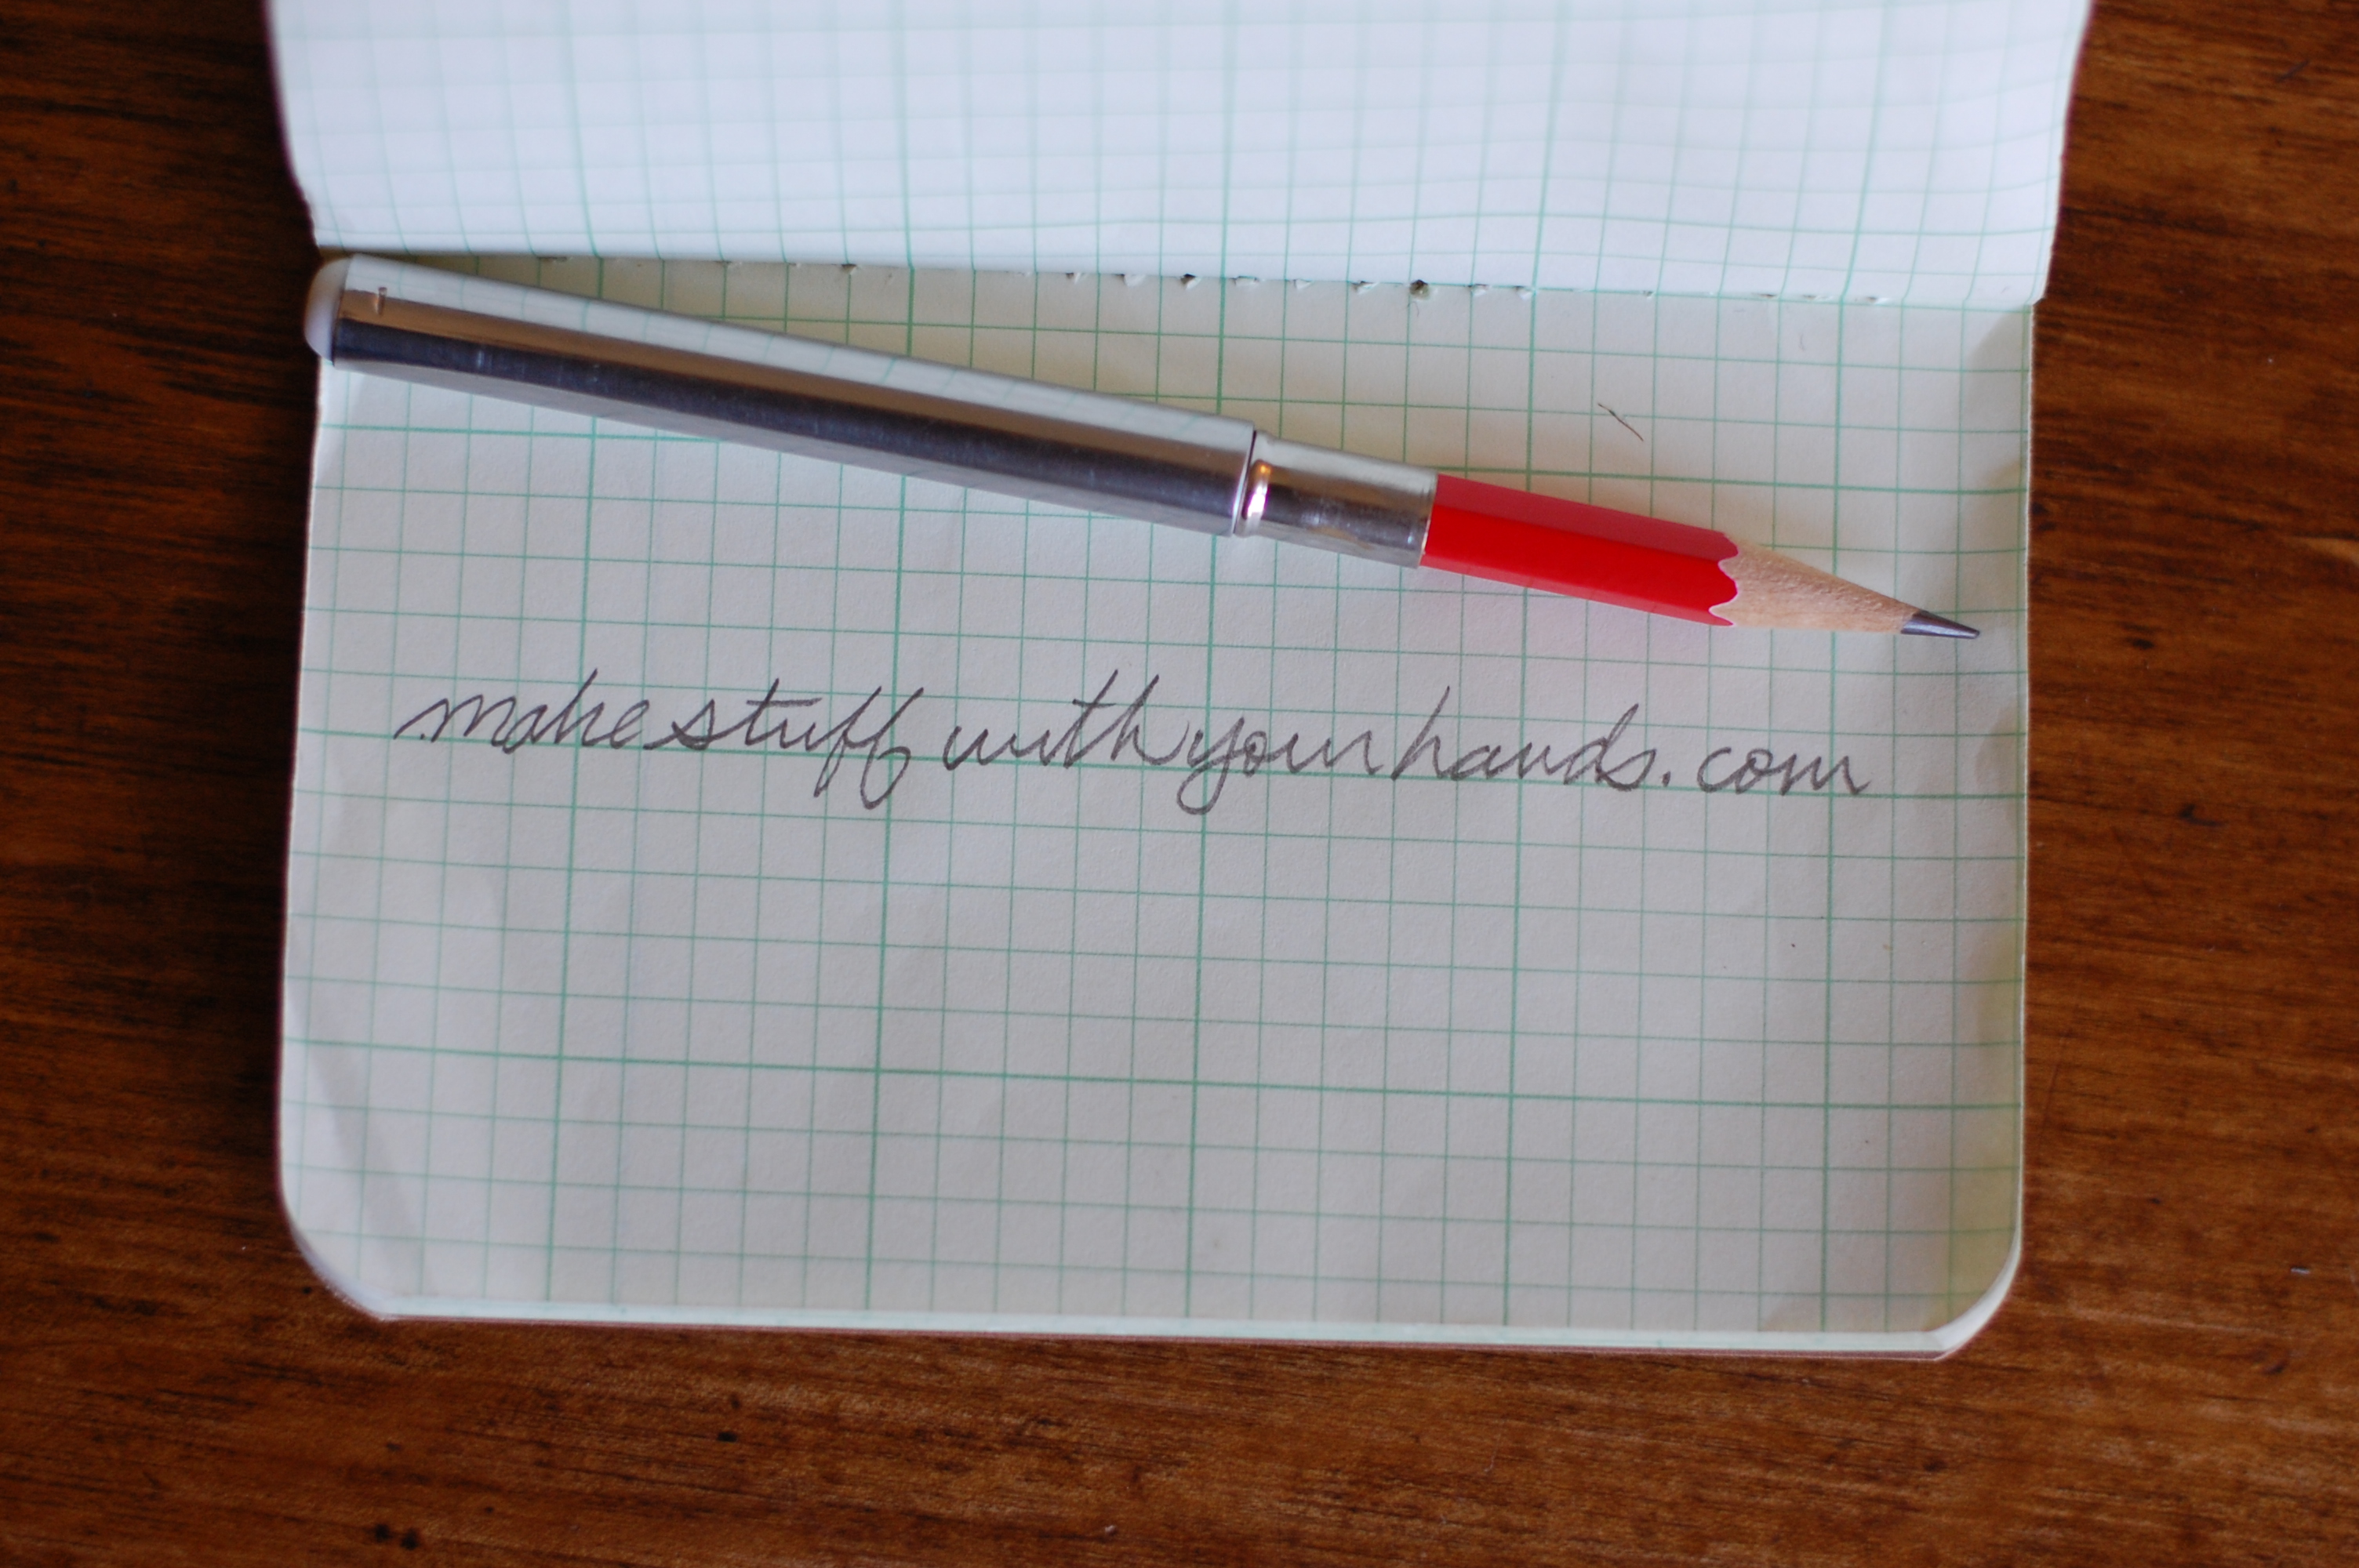
(Click the picture for a larger view) Happy Making, Jim
I am bringing this post over from an older blog of mine because it is time! Today, it is warm here – windows open short sleeves warm – so here you go:
I remember digging in my uncle Doug’s tackle box as a kid and being mesmerized. I was none too fond of the smell of his catfish bait. It was home made stuff – imagine fish kimchee in a mason jar… Regardless, I love the look of wooden fishing lures. It is possible (and pretty fun) to make a few simple lures on your own without any expensive tools.
You will need:
Lets get started. First, measure off a 3″ piece of your dowel and cut it off.

Not too hard so far… Next, put a pencil mark in the center of both ends the ends of the dowel, and poke starter holes there.

Put a screw eye into the holes in each end.

Next comes the shaping. Take the screw eyes back out, lay the 60 or 80 grit sandpaper on a flat surface, and drag the dowel toward you while slowly lifting the back end up. Rotate the dowel a bit and continue. The idea is just to round over the dowel until it looks like a cigar. You can speed this up with a wood rasp if you can lay hands on one.

After you have the ends of the dowel roughly rounded, pick it up, grab your sandpaper and get the rough off. If you want, you can sand it entirely smooth, or you can just sand a little bit. I am pretty sure that the fish care do not care how beautiful your lure is. Use the finer sandpapers until you have the lure as smooth as you would like.
Here are two lures; the one from the pictures above and another that I sanded into a different pointier shape.

I have the lures hanging from a coat hanger that I cut in two and bent up. This holds them nicely while you spray primer on them. If you don’t want the fumes, you certainly do not have to use spray paint. I do, just to speed things up. Whatever paint you use, read and follow all the safety instructions…
I wanted my cigar shaped lure to have a fish scale pattern, so I wrapped it with tulle fabric. Tulle is what you make butterfly nets out of when you are little. I got mine at Hobby Lobby.

I hold the lure by one of the screw eyes with a clamp or some pliers. Next, I lightly spray paint the lure over the mesh. After the paint dries, you get a scale effect.

One other traditional way to paint lures is all white with a red head. The trick to getting the straight line on the red is by dipping instead of brushing or painting. First paint your lure all white. I used the non-toxic acrylics for this. With the acrylics, a hair dryer can shorten the time between coats. I would not use the hair dryer with any paints that are solvent based.
Once the lure is all white, dip the end of the lure in the red paint.

The last cool bit of the painting is the eyes. There is a great trick for painting the eyes. I use a small piece of a dowel and a small nail. You dip the dowel (or a larger nail) in white paint and make a dot where you want the eye. Let this dry and dip the smaller nail into black paint and put a dot for the pupil.

Here is a pic of the two lures after the painting is done and I have clear coated them. You can use several coats of clear spray paint or polyurethane to get that nice shiny look and help the lures last longer. Professional lure makers use a two part epoxy to coat their lures but that is certainly not necessary. I sometimes coat mine in Devcon 2 ton epoxy I get at the hardware store.

The last step is to put on the hooks. Poke a small starter hole about 1/3 of the way back from the head on the bottom of the lure. Put another screw eye in this hole. To hang the hooks, I like to use split rings. You can get them in the fishing section of sporting goods stores. These rings let you change the hooks easily if you break them. The split rings are a little fussy to get on. You can buy special split ring pliers (also in the sporting goods section) or you can just pry them open with the tiny screw driver that comes in a glasses repair kit. I will say, if you are going to do several lures – spring for the split ring pliers. They make it easier to get the hooks on without getting poked.
Here is the finished lure.

Good luck and let me know how they turn out!
Jim
