
Happy Valentines day!
-J
Happy Valentines day!
-J
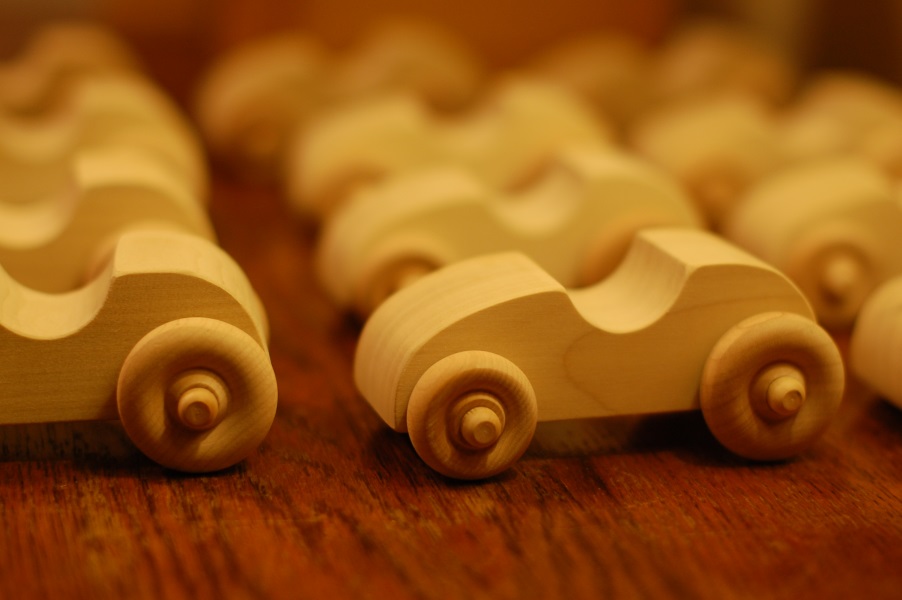
Tonight, I had to make some wooden toy cars for a birthday party.

I have always had a little trouble when using pre-made axles for toy wooden cars. I either sink the first axle too deep and the wheel will not turn. That, or I sink it too deep when I flip the car over to drive in the second axle. I needed something to stop all this silliness.

I cut a notch in the end of two tongue depressors and laid them on the car body with the notch around the axle. When you drive the axle into the body, the tongue depressor stops it with just the right spacing. I made two so I can leave the first one in place when I drive the opposing axle in. This keeps me from sinking the first axle too deep when driving the second one.
I think that they will be well received at the party.
So, if you are making toys with little wooden axles – get yourself some tongue depressors.
Happy making,
Jim
And now for something completely different…
A few years ago, I bought a loom for someone as a gift. About once a year, as it starts getting cold out, I borrow it and make something.
This year, a scarf of Donegal Tweed yarn – felted.

I wove this on an Ashford Rigid Heddle loom. It is about eight inches wide and plenty warm.
Happy making,
Jim
I started this knife quite a while ago. It has been sitting on my bench for over a year – until now.

I made it to be part of a hunting set and showed the smaller first knife here quite a while ago.
Here are the two knives finally together.

I carry the smaller knife as a fixed blade edc pocket knife.
They are both 01 steel with green micarta handles and red liners. The blade on the larger one is about 3″.
I also made the sheath and to be honest – I almost enjoyed that as much as making the knife.
Happy Making and new year to you,
Jim
I recently got a beautiful integral fixed blade knife from Master Smith Ray Kirk. I like it so much that I had to try and make one for myself. I bought a couple 3/8″ round bars of the 52100 from Ray and here is what I came up with:
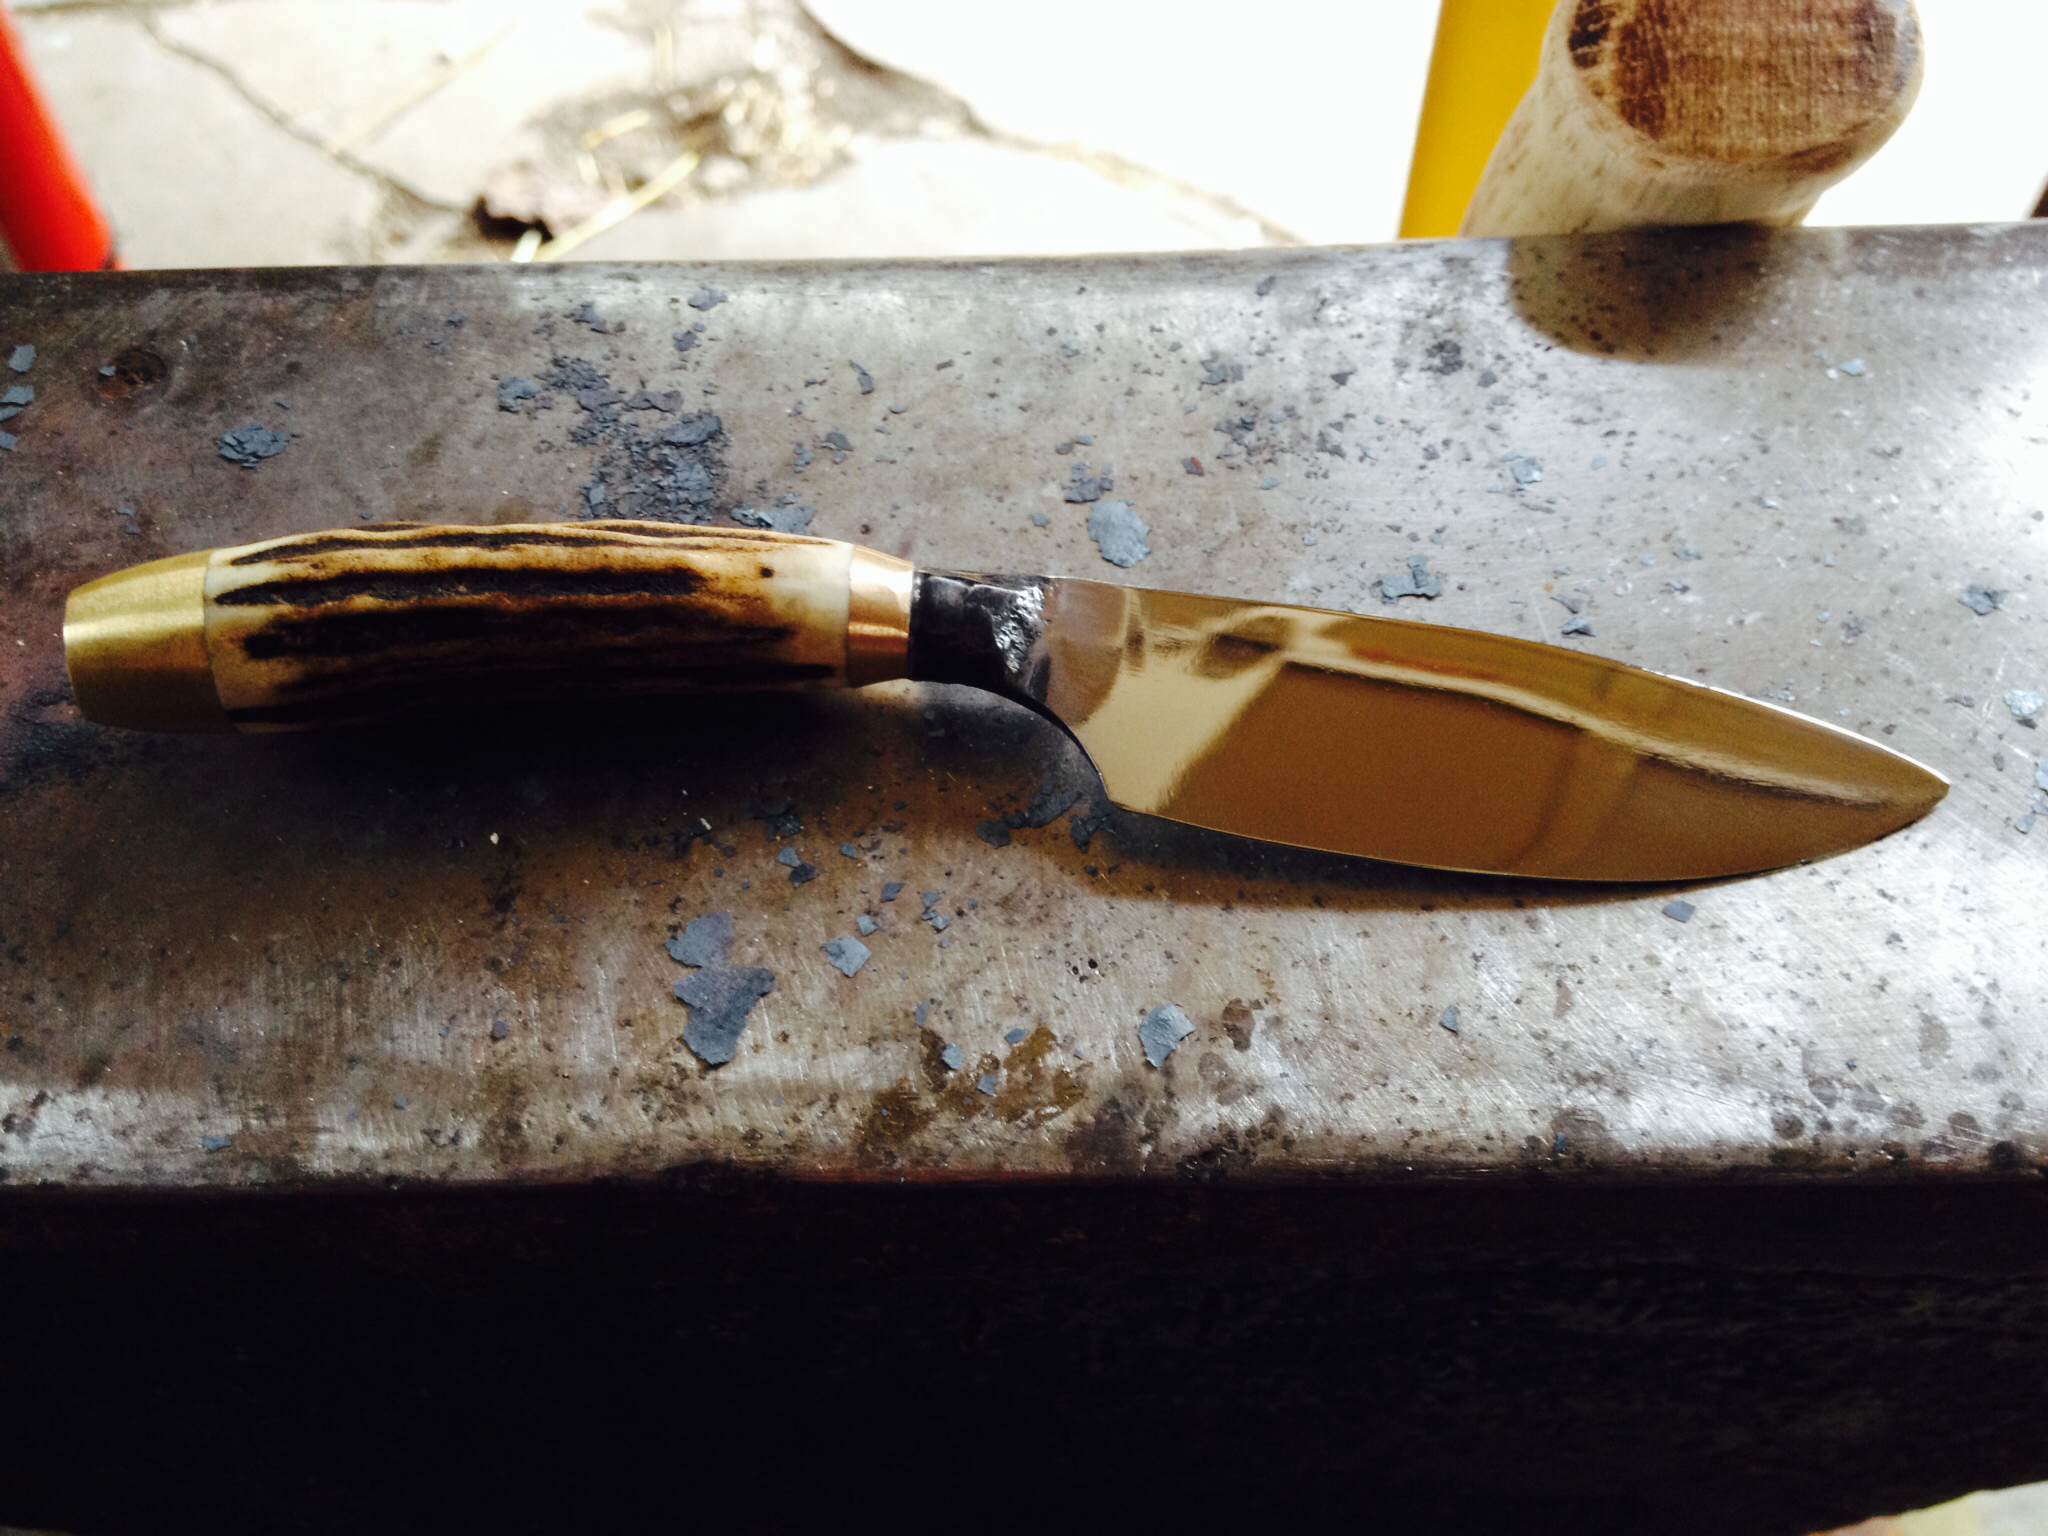
Thanks to my friend Dave from Circle H forge for the beautiful piece of stag.
Lots of folks have been helping me with all this. Ray spent an hour walking me through how to make a blade like this.
Also, Master Smith Lin Rhea is always there with an answer to anything I need help with.
I have come to find that the folks in the American Bladesmith Society are just some of the best people out there.
-Happy Making,
Jim
I haven’t been able to get into the shop for a bit now but today, I had a few minutes to make something for a little one:

This one is mulberry wood on a cherry base with maple wheels – an old button to pull it with.
Happy making,
Jim
Someone asked if I would show my arrow shaft making jig today, so here it is:
I start by milling the wood that I am using to 3/8″ by 3/8″ by about 3′.
![]()
Here are some milled shafts with a square blank in the center.
The jig itself is a straightened piece of hardwood (anything will do probably) with small blocks affixed to the side with screws. I drilled through the center of each block and lined them with bronze bushing parts that I found at my local hardware store.

On my router, I replaced the base plate with a 3/8″ thick piece of Lexan. I drilled a hole in it and I drive a machine screw through to affix the arrow shaft jig to the base (In the previous picture, you can see I used a wing nut to tighten the machine screw) :

This machine screw is really critical. It allows me to pivot the base of the jig closer or further from the router bit. This allows me to fine tune the jig to get the exact thickness of shaft that I need for the arrows I am making.
I run a few test pieces through, pivoting the jig back and forth until I get the precise thickness I want. Once it is just right, I clamp the jig to my router table tightly:

Using a round over bit, I run all the shafts through. The line of bronze bushings is there to keep the shaft from whipping around as it spins at high speeds. Without these, things get kind of emotional. Ask me how I know…
I use a 3/8″ allen wrench head socket bit in my electric drill to hold my square stock. I chuck it into the drill backwards, with the allen wrench bit in the drill, and put the square stock into the socket end. This works just great to spin the square stock across the moving router bit:

All this allows me to make traditional archery wooden arrows from hardwoods that are difficult to find or just really expensive.
Here are a few from this jig:

Happy Making,
Jim
A friend found me a great used lathe recently. I was able to get it set up and work up a couple of new tops.

Happy Making,
Jim
I got to spend a great day with my dad making knives. I have been interested lately in having a fixed blade pocket knife so, I put together this pattern and we each made the same knife.
Here is how mine turned out:

It is sized like a neck knife, but I specifically designed it to be carried as an EDC (every day carry) pocket knife.

And here it is in its sheath. I made the sheath with the Loveless style cam so it makes a great ‘snap’ when you put it away.

It is comfortable in my front pocket or the leg pocket in my work pants.
Happy Making,
Jim
I plan to make this a set of three knives. I have two roughed out and plan to cut the third in a similar style to the Loveless chute knife.
Here is how far I got tonight.

These are in 01 steel.
Happy making,
Jim
